Contributing Guide#
The way to make contributions is through making pull requests(PR for short). After your PR is merged, the changes you make can be applied by other users.

Firstly, fork in DP-GEN repository. Then you can clone the repository, build a new branch, make changes and then make a pull request.
How to contribute to DP-GEN#
Welcome to the repository of DP-GEN
DP-GEN adopts the same convention as other software in DeepModeling Community.
You can first refer to DeePMD-kit’s Contributing guide and Developer guide.
You can also read relative chapters on Github Docs.
If you have no idea how to fix your problem or where to find the relative source code, please check Code Structure of the DP-GEN repository on this website.
Use command line#
You can use git with the command line, or open the repository on Github Desktop. Here is a video as a demo of making changes to DP-GEN and publishing it with command line.
If you have never used Github before, remember to generate your ssh key and configure the public key in Github Settings. If you can’t configure your username and password, please use token. The explanation from Github see Github Blog: token authentication requirements for git operations. A discussion on StaskOverflow can solve this problem.
Use Github Desktop#
Also, you can use Github Desktop to make PR. The following shows the steps to clone the repository and add your doc to tutorials. If it is your first time using Github, Open with Github Desktop is recommended. Github Desktop is a software, which can make your operations on branches visually.
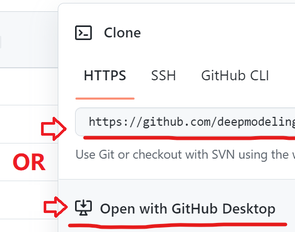
After you clone it to your PC, you can open it with Github Desktop.
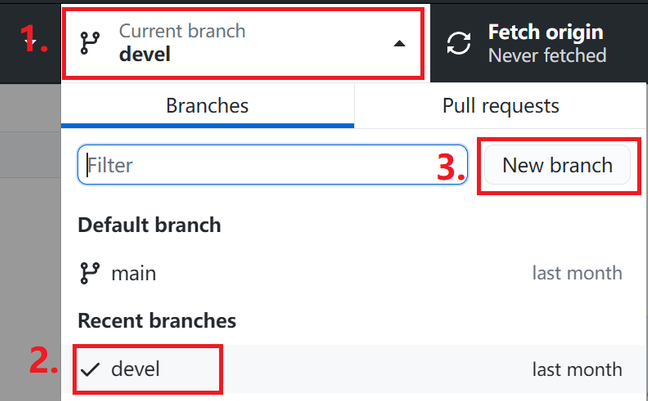
Firstly, create your new branch based on the default branch.
Thirdly, select the changes that you what to push, and commit to it. Press “Publish branch” to push your origin repository to the remote branch.

How to contribute to DP-GEN tutorials and documents#
Welcome to the documents of DP-GEN
If you want to add the documentation of a toy model, simply put your file in the directory doc/toymodels/ and push;
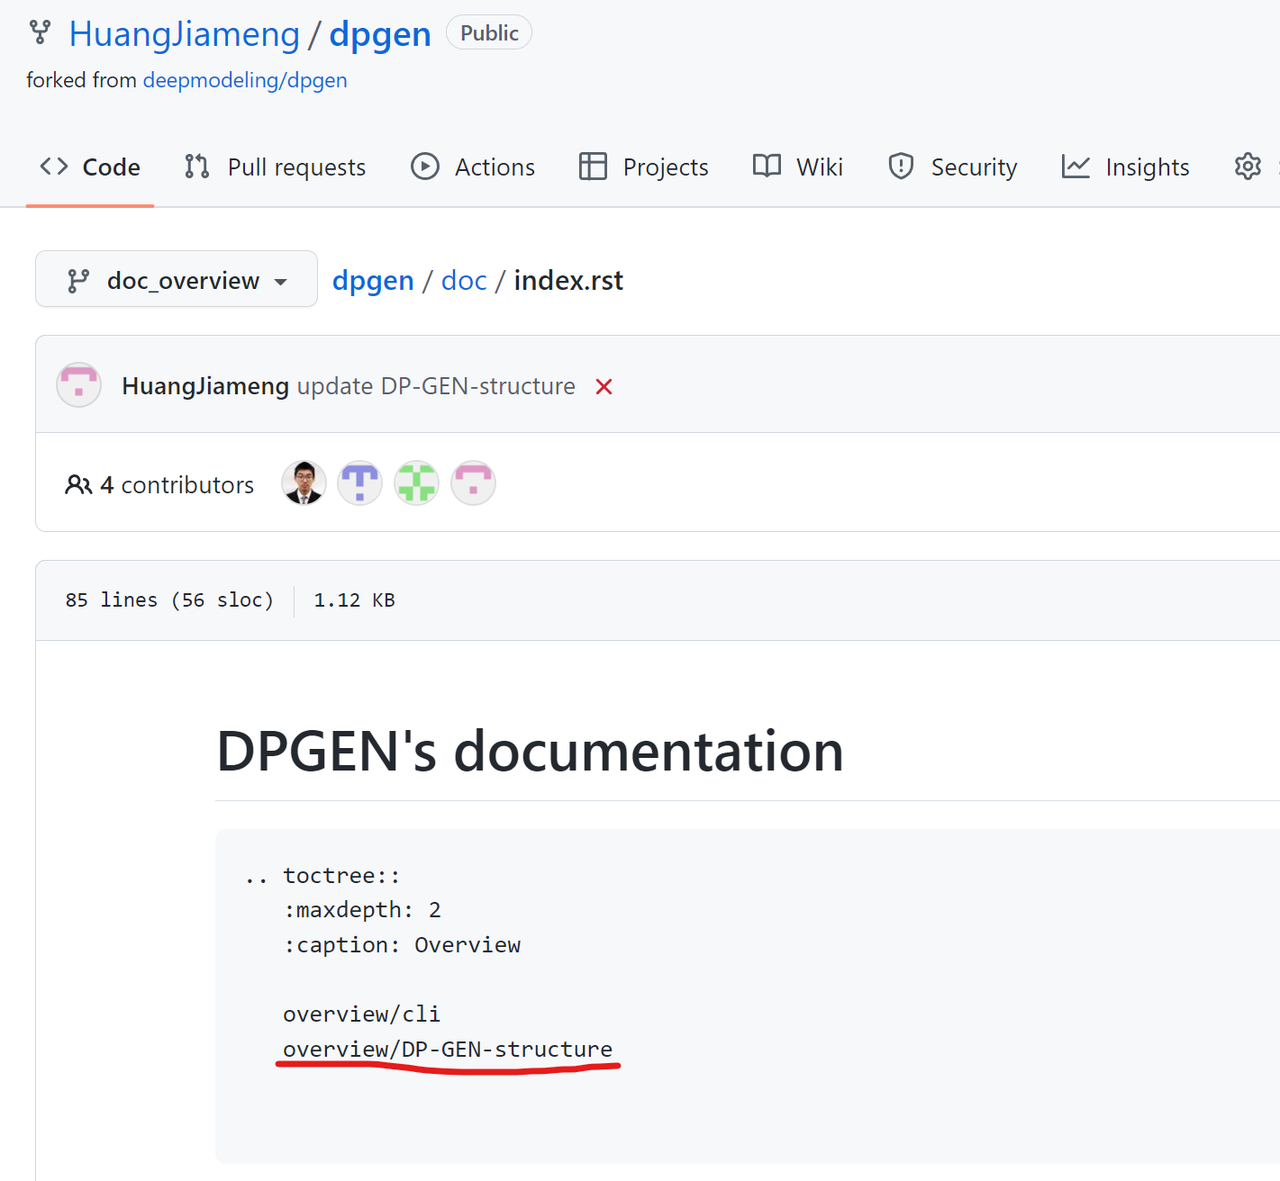
If you want to add a new directory for a new category of instructions, make a new directory and add it in doc/index.rst.
Also welcome to Tutorials repository You can find the structure of tutorials and preparations before writing a document in Writing Tips.
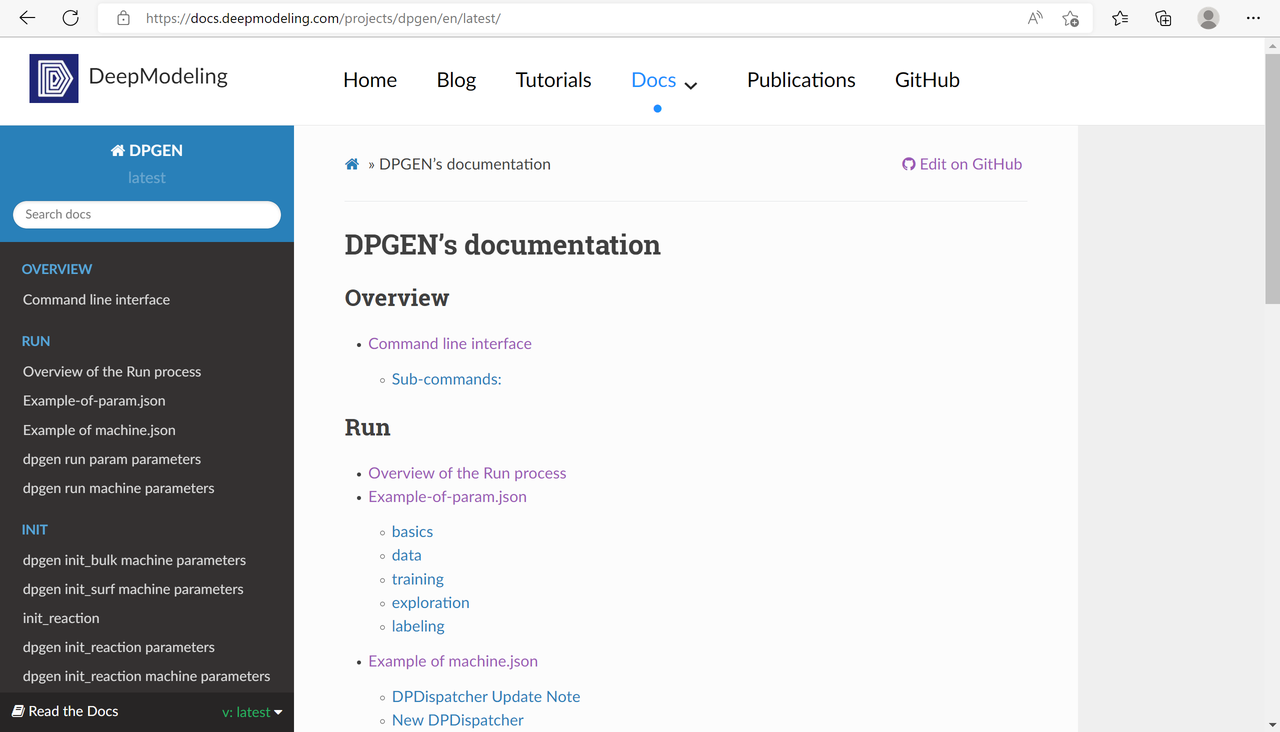
The latest page of DP-GEN Docs
Examples of contributions#
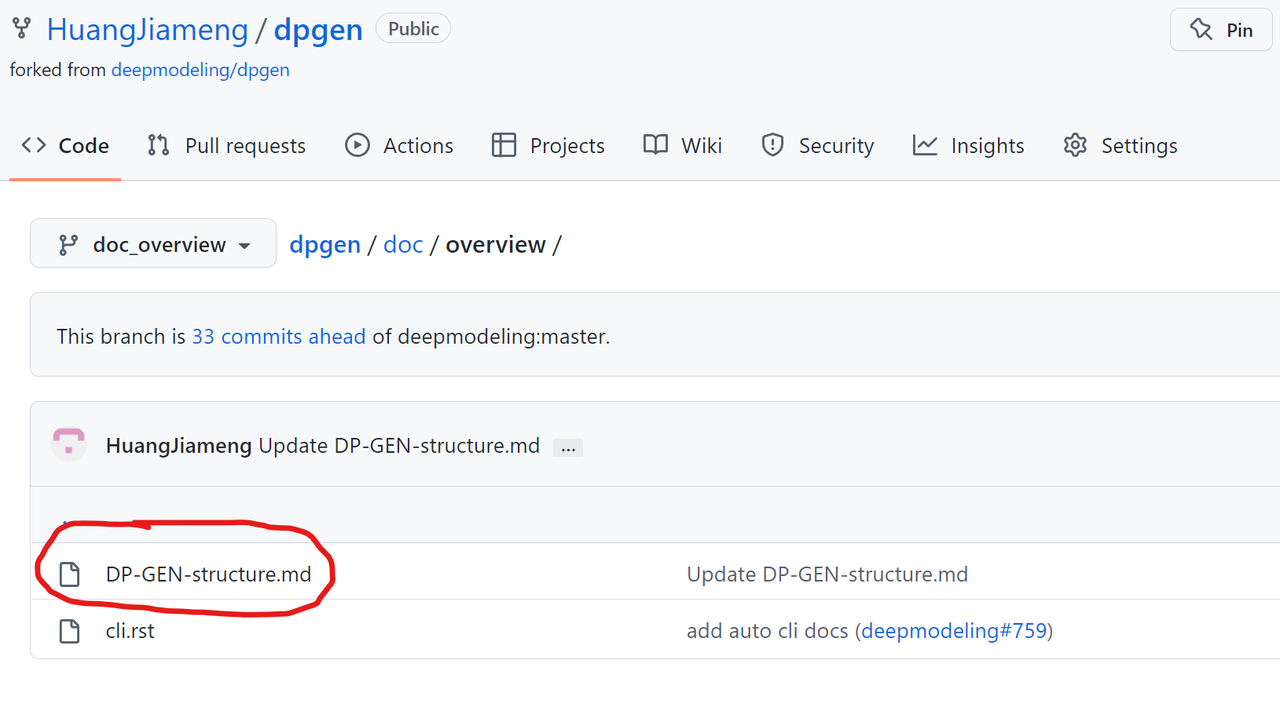
1. Push your doc#
2. Add the directory in index.rst#
3. Build and check it#
As mentioned in “How to build the website to check if the modification works”.
4. Make pull request to dpgen#
Find how a parameter is used in the code#
It is strongly recommended that you use the find in files function of Visual Studio software, Search function of Visual Studio Code, or similar functions of other software. Type in the name of the parameter you are looking for, and you will see where it is read in and used in the procedure. Of course, you can also search for the relevant code according to the above guide.
Want to modify a function?#
If you have special requirements, you can make personalized modifications in the code corresponding to the function. If you think your modification can benefit the public, and it does not conflict with the current DP-GEN function; or if you fix a bug, please make a pull request to contribute the optimization to the DP-GEN repository.
DP-GEN dependencies#
dpdispatcher and dpdata are dependencies of DP-GEN. dpdispatcher is related to task submission, monitoring and recovery, and dpdata is related to data processing. If you encounter an error and want to find the reason, please judge whether the problem comes from DP-GEN, dpdispatcher or dpdata according to the last line of Traceback.
About the update of the parameter file#
You may have noticed that there are arginfo.py files in many folders. This is a file used to generate parameter documentation. If you add or modify a parameter in DP-GEN and intend to export it to the main repository, please sync your changes in arginfo.
Tips#
Please try to submit a PR after finishing all the changes
Please briefly describe what you do with
git commit -m "<conclude-the-change-you-make>"! “No description provided.” will make the maintainer feel confused.It is not recommended to make changes directly in the default branch. It is recommended to pull a branch from the default branch:
git checkout -b <new-branch-name>When switching branches, remember to check if you want to bring the changes to the next branch!
Please fix the errors reported by the unit test. You can firstly test on your local machine before pushing commits. Hint: The way to test the code is to go from the main directory to the tests directory, and use the command
python3 -m unittest. You can watch the demo video for review. Sometimes you may fail unit tests due to your local circumstance. You can check whether the error reported is related to the part you modified to eliminate this problem. After submitting, as long as there is a green check mark after the PR title on the webpage, it means that the test has been passed.Pay attention to whether there are comments under your PR. If there is a change request, you need to check and modify the code. If there are conflicts, you need to solve them manually.
After successfully making a PR, developers will check it and give comments. It will be merged after everything done. Then CONGRATULATIONS! You become a first-time contributor to DP-GEN!